Secure AKS at the deployment
1. Introduction
In this article, we will take a look at Azure Kubernetes Service, how to deloy it and how to secure its usage.
2. AKS – reminder and basic deployment
So, I will not take too much time to redefine what is AKS, it has become widely known in the late months. Also, there is a nice documentation out there that explain how to deploy with just a few az cli command:
az group create --name myResourceGroup --location eastus

az aks create \
    --resource-group myResourceGroup \
    --name myAKSCluster \
    --node-count 1 \
    --enable-addons monitoring \
    --generate-ssh-keys
While useful, this command hides a lot of what happens behind the scene. We do not really know where the cluster is deployed, and we do not know either how the network is configured. By default, it would use kubenet, which is nice for testing but does not allow us to use completely the capabilities of AKS.
In this article, let’s take a few assumptions:
- The underlying Azure infrastructure is already deployed
- We will use AKS with the Azure CNI
Having the Network in Azure already available is an essential step before deploying an AKS cluster. The reason being tightly linked to the CNI choice. With the Azure CNI, Kubernetes Nodes but also pods rely on Private IP in the Azure VNet and the targeted subnet on which the AKS is deployed. Thus, to deploy a working AKS which can host an appropriate number of workloads (i.e pods), the network design should be taken seriously into consideration to provide a sufficient address space for the AKS cluster. Azure documentation gives the following formula to calculate the minimum subnet size required for the cluster and its workload:
(number of nodes + 1) + ((number of nodes + 1) * maximum pods per node that you configure)
Which, still taken from the Azure doc, gives us for a 50 nodes cluster the following:
(51) + (51 * 30 (default)) = 1,581
Note that by default we have a maximum number of pods per node configured to 30 with the Azure CNI. This is fortunately a soft limit and it is possible to configure a limit up to 110 pods per node, either at deployment time or in a post deployment steps, with the az cli for example.
Now, for the CNI choice, one reason that we used to prefer using Azure CNI is that it allows us to use Network policy with Calico. Since we want to talk about securing the AKS deployment, Network Policies are required. However, since a few weeks now, we have netpol also with kubenet so it’s really up to you for the testing. We will stick with Azure CNI for now
OK let’s see the nice stuff now
3. AKS Integration with Azure AD
3.1. AAD integration requirement
Since AKS is Azure managed Kubernetes service, it comes with some nice add-ons such as the Azure Active Directory integration for authentication. The advantage here is for company which would use AAD as an identity repository, either from a sync with On premise LDAP or on a cloud-native way, to be able to use the known identity in Azure AD to work on Kubernetes workload and thus ease the integration. Also, since AAD is able to use MFA for secure authentication, a user for which MFA is required will use MFA to access AKS. While making the interaction with AKS a little more cumbersome, it answers many security needs and thus should be considered a best practice.
3.2 Creating the required elements
3.2.1 Overview of the prerequisites
As stated in Azure documentation, AAD authentication on AKS Clusters relies on OpenID Connect. Without diving to much in OpenID connect, let’s summarize how it works:
A registered application for AKS access is required. This application is associated to the AKS server and is used to get users AAD Group membership. To do so, it needs permissions on the Microsoft Graph API:
- Application access: Read directory data
- Delegated permissions: Sign in and read user profile and Read Directory data
Through this application and its associated service principal, the AKS cluster is able to check the user authenticating is part of the Azure AD tenant. However, no access is given to an AAD Group or user yet.
A second application for access to the first application is then required. This application is a Native app. In terms of permissions, it needs access to the previous one
To create the service principal and the apps, we can use the portal, or the Azure Cli, and to some level, Terraform with the Azure AD provider. Let’s see the details here after.
3.2.2 Provisioning the prerequisites
The service principal creation can be done through the Azure portal, in the Azure AD section. One funny thing though, while the Azure documentation is pretty complete on how to create the required service principals, a change in the Azure AD application console makes that documentation not up to date. With the “legacy” portal section, it’s easy to choose a https application or a native application, but not so much in the new version of the application section. On the other hand, it’s quite easy to create the service principals with the az cli. Let’s say that we want to name the AKS Server app K8SSRV and the AKS Client app K8SCli. We use the following command to create the K8SSRV application:
PS C:\Users\User1> $serverApplicationId=$(az ad app create --display-name K8SSRV --identifier-uris "https://K8SSRV.teknews.cloud" --query appId -o tsv)
The server application should be able to assume the Azure AD user, so we need to modify the manifest of the application like displayed below:
{
    "id": "xxxxxxxx-xxxx-xxxx-xxxx-xxxxxxxxxxx",
    "acceptMappedClaims": null,
    "accessTokenAcceptedVersion": null,
    "addIns": [],
    "allowPublicClient": null,
    "appId": "xxxxxxxx-xxxx-xxxx-xxxx-xxxxxxxxxxx",
    "appRoles": [],
    "oauth2AllowUrlPathMatching": false,
    "createdDateTime": "2019-05-16T10:06:34Z",
    "groupMembershipClaims": "All",
    "identifierUris": [
        "https://K8SSRV.teknews.cloud"
    ],
In az cli, it’s done as follow:
PS C:\Users\User1> az ad app update --id $serverApplicationId --set groupMembershipClaims=All
We now create the associated service principal to the application:
PS C:\Users\User1> az ad sp create --id $serverApplicationId
{
  "accountEnabled": "True",
  "addIns": [],
  "alternativeNames": [],
  "appDisplayName": "K8SSRV",
  "appId": "xxxxxxxx-xxxx-xxxx-xxxx-xxxxxxxxxxx",
  "appOwnerTenantId": "xxxxxxxx-xxxx-xxxx-xxxx-xxxxxxxxxxx",
  "appRoleAssignmentRequired": false,
  "appRoles": [],
  "applicationTemplateId": null,
  "deletionTimestamp": null,
  "displayName": "K8SSRV",
  "errorUrl": null,
  "homepage": null,
  "informationalUrls": {
    "marketing": null,
    "privacy": null,
    "support": null,
    "termsOfService": null
  },
  "keyCredentials": [],
  "logoutUrl": null,
  "notificationEmailAddresses": [],
  "oauth2Permissions": [
    {
      "adminConsentDescription": "Allow the application to access K8SSRV on behalf of the signed-in user.",
      "adminConsentDisplayName": "Access K8SSRV",
      "id": "xxxxxxxx-xxxx-xxxx-xxxx-xxxxxxxxxxx",
      "isEnabled": true,
      "type": "User",
      "userConsentDescription": "Allow the application to access K8SSRV on your behalf.",
      "userConsentDisplayName": "Access K8SSRV",
      "value": "user_impersonation"
    }
  ],
  "objectId": "xxxxxxxx-xxxx-xxxx-xxxx-xxxxxxxxxxx",
  "objectType": "ServicePrincipal",
  "odata.metadata": "https://graph.windows.net/xxxxxxxx-xxxx-xxxx-xxxx-xxxxxxxxxxx/$metadata#directoryObjects/@Element",
  "odata.type": "Microsoft.DirectoryServices.ServicePrincipal",
  "passwordCredentials": [],
  "preferredSingleSignOnMode": null,
  "preferredTokenSigningKeyEndDateTime": null,
  "preferredTokenSigningKeyThumbprint": null,
  "publisherName": "dfitc",
  "replyUrls": [],
  "samlMetadataUrl": null,
  "samlSingleSignOnSettings": null,
  "servicePrincipalNames": [
    "xxxxxxxx-xxxx-xxxx-xxxx-xxxxxxxxxxx",
    "https://K8SSRV.teknews.cloud"
  ],
  "servicePrincipalType": "Application",
  "signInAudience": "AzureADMyOrg",
  "tags": [],
  "tokenEncryptionKeyId": null
}
We will need the application secret for the AKS Cluster, so we run the command below:
PS C:\Users\User1> $serverApplicationSecret=$(az ad sp credential reset --name $serverApplicationId --credential-description K8SSRVPwd --query password -o tsv)
Now the server app requires authorization on the Microsoft Graph API, we grant the access as follow. To perform this command, the az cli have to be run with an account in Azure AD which has global admin rights:
PS C:\Users\User1> az ad app permission add --id $serverApplicationId --api 00000003-0000-0000-c000-000000000000 --api-permissions e1fe6dd8-ba31-4d61-89e7-88639da4683d=Scope 06da0dbc-49e2-44d2-8312-53f166ab848a=Scope 7ab1d382-f21e-4acd-a863-ba3e13f7da61=Role
Invoking "az ad app permission grant --id xxxxxxxx-xxxx-xxxx-xxxx-xxxxxxxxxxx --api 00000003-0000-0000-c000-000000000000" is needed to make the change effective
PS C:\Users\User1> az ad app permission grant --id $serverApplicationId --api 00000003-0000-0000-c000-000000000000
{
  "clientId": "xxxxxxxx-xxxx-xxxx-xxxx-xxxxxxxxxxx",
  "consentType": "AllPrincipals",
  "expiryTime": "2020-05-16T10:22:24.551805",
  "objectId": "KGEOWvQaWkSZ88psknWSqpsVrtuS4RhJpdS6UkfUDCU",
  "odata.metadata": "https://graph.windows.net/xxxxxxxx-xxxx-xxxx-xxxx-xxxxxxxxxxx/$metadata#oauth2PermissionGrants/@Element",
  "odatatype": null,
  "principalId": null,
  "resourceId": "dbae159b-e192-4918-a5d4-ba5247d40c25",
  "scope": "user_impersonation",
  "startTime": "2019-05-16T10:22:24.551805"
}
PS C:\Users\User1> az ad app permission admin-consent --id $serverApplicationId
The client app only need access on the server app. To create the application, we use the following az cli command:
PS C:\Users\User1> $clientApplicationId=$(az ad app create --display-name K8SCki --native-app --reply-urls "https://K8SCli.teknews.cloud" --query appId -o tsv)
PS C:\Users\User1> az ad sp create --id $clientApplicationId
{
  "accountEnabled": "True",
  "addIns": [],
  "alternativeNames": [],
  "appDisplayName": "K8SCki",
  "appId": "xxxxxxxx-xxxx-xxxx-xxxx-xxxxxxxxxxx",
  "appOwnerTenantId": "xxxxxxxx-xxxx-xxxx-xxxx-xxxxxxxxxxx",
  "appRoleAssignmentRequired": false,
  "appRoles": [],
  "applicationTemplateId": null,
  "deletionTimestamp": null,
  "displayName": "K8SCki",
  "errorUrl": null,
  "homepage": null,
  "informationalUrls": {
    "marketing": null,
    "privacy": null,
    "support": null,
    "termsOfService": null
  },
  "keyCredentials": [],
  "logoutUrl": null,
  "notificationEmailAddresses": [],
  "oauth2Permissions": [
    {
      "adminConsentDescription": "Allow the application to access K8SCki on behalf of the signed-in user.",
      "adminConsentDisplayName": "Access K8SCki",
      "id": "xxxxxxxx-xxxx-xxxx-xxxx-xxxxxxxxxxx",
      "isEnabled": true,
      "type": "User",
      "userConsentDescription": "Allow the application to access K8SCki on your behalf.",
      "userConsentDisplayName": "Access K8SCki",
      "value": "user_impersonation"
    }
  ],
  "objectId": "xxxxxxxx-xxxx-xxxx-xxxx-xxxxxxxxxxx",
  "objectType": "ServicePrincipal",
  "odata.metadata": "https://graph.windows.net/xxxxxxxx-xxxx-xxxx-xxxx-xxxxxxxxxxx/$metadata#directoryObjects/@Element",
  "odata.type": "Microsoft.DirectoryServices.ServicePrincipal",
  "passwordCredentials": [],
  "preferredSingleSignOnMode": null,
  "preferredTokenSigningKeyEndDateTime": null,
  "preferredTokenSigningKeyThumbprint": null,
  "publisherName": "dfitc",
  "replyUrls": [
    "https://K8SCli.teknews.cloud"
  ],
  "samlMetadataUrl": null,
  "samlSingleSignOnSettings": null,
  "servicePrincipalNames": [
    "xxxxxxxx-xxxx-xxxx-xxxx-xxxxxxxxxxx"
  ],
  "servicePrincipalType": "Application",
  "signInAudience": "AzureADMyOrg",
  "tags": [],
  "tokenEncryptionKeyId": null
}
To grant the required access we use the following commands:
PS C:\Users\User1> $oAuthPermissionId=(az ad app show --id $serverApplicationId --query oauth2Permissions[0].id)
PS C:\Users\User1> $oAuthPermissionId
"xxxxxxxx-xxxx-xxxx-xxxx-xxxxxxxxxxx"
PS C:\Users\User1> az ad app permission add --id $clientApplicationId --api $serverApplicationId --api-permissions $oAuthPermissionId=Scope
Invoking "az ad app permission grant --id xxxxxxxx-xxxx-xxxx-xxxx-xxxxxxxxxxx f --api xxxxxxxx-xxxx-xxxx-xxxx-xxxxxxxxxxx" is needed to make the change effective
PS C:\Users\User1> az ad app permission grant --id $clientApplicationId --api $serverApplicationId
{
  "clientId": "xxxxxxxx-xxxx-xxxx-xxxx-xxxxxxxxxxx",
  "consentType": "AllPrincipals",
  "expiryTime": "2020-05-16T11:26:31.055843",
  "objectId": "c_AA9jsnoEacBTJUErD53ShhDlr0GlpEmfPKbJJ1kqo",
  "odata.metadata": "https://graph.windows.net/xxxxxxxx-xxxx-xxxx-xxxx-xxxxxxxxxxx/$metadata#oauth2PermissionGrants/@Element",
  "odatatype": null,
  "principalId": null,
  "resourceId": "xxxxxxxx-xxxx-xxxx-xxxx-xxxxxxxxxxx",
  "scope": "user_impersonation",
  "startTime": "2019-05-16T11:26:31.055843"
}
3.3 Deploying an AKS cluster with AAD integration
Once we have the Azure AD application, the AKS deployment is quite easy with the terraform resource azurerm_kubernetes_cluster. The code should look like this:
################################################################
#This module allows the creation of an AKS Cluster
################################################################

#Creating the AKS Cluster with RBAC Enabled and AAD integration

resource "azurerm_kubernetes_cluster" "TerraAKSwithRBAC" {

  name                = "${var.AKSClusName}"
  location            = "${var.AKSLocation}"
  resource_group_name = "${var.AKSRGName}"

  agent_pool_profile {
    name              = "${lower(var.AKSAgentPoolName)}"
    count             = "${var.AKSNodeCount}"
    vm_size           = "${var.AKSNodeInstanceType}"
    os_type           = "${var.AKSNodeOSType}"
    os_disk_size_gb   = "${var.AKSNodeOSDiskSize}"
    vnet_subnet_id    = "${var.AKSSubnetId}"
    max_pods          = "${var.AKSMaxPods}"

  }

  dns_prefix = "${lower(var.AKSprefix)}"

  service_principal {
    client_id         = "${var.K8SSPId}"
    client_secret     = "${var.K8SSPSecret}"

  }

  addon_profile {
    http_application_routing {
      enabled = "${var.IshttproutingEnabled}"
    }

    oms_agent {
      enabled                 = true
      log_analytics_workspace_id = "${lower(var.AKSLAWId)}"
    }
  }

#  kubernetes_version = "${var.KubeVersion}"

  linux_profile {
    admin_username = "${var.AKSAdminName}"

    ssh_key {
      key_data = "${var.PublicSSHKey}"
    }
  }

  network_profile {
    network_plugin        = "azure"
    network_policy        = "calico"
    dns_service_ip        = "${cidrhost(var.AKSSVCCIDR, var.AKSDNSSVCIPModfier)}"
    docker_bridge_cidr    = "${var.AKSDockerBridgeCIDR}"
    service_cidr          = "${var.AKSSVCCIDR}"

  }

  role_based_access_control {
    enabled           = true

    azure_active_directory {
      client_app_id       = "${var.AADCliAppId}"
      server_app_id       = "${var.AADServerAppId}"
      server_app_secret   = "${var.AADServerAppSecret}"
      tenant_id           = "${var.AADTenantId}"
    }

  }

  tags {
    Environment       = "${var.EnvironmentTag}"
    Usage             = "${var.EnvironmentUsageTag}"
    Owner             = "${var.OwnerTag}"
    ProvisioningDate  = "${var.ProvisioningDateTag}"
  }
}
The important part for the AAD integration is in the role_based_access_control block. First, obviously, RBAC should be enabled, so the enabled parameter value is true. Second, we have to reference the AAD application GUID. In the azure_active_directory block, we refenrence the parameters client_app_id, server_app_id, server_app_secret and the tenant_id. Displaying those informations directly in the code would be unsecured, if not code optimized, so we use variable here to pass the value to the resource. In a DevSecOps ideal approach, the security stuff should be handled separately, so to operate accordingly to this practice, I use an Azure KeyVault to store the Azure AD objects values and call them with my terraform service principal which has access to the key vault in read only. I use data source to call the Azure Key Vault secret in my terraform module call:
module "AKSClus" {
  #Module Location
  source = "github.com/dfrappart/Terra-AZModuletest//Modules//44-2 AKS ClusterwithRBAC/"

  #Module variable
  AKSRGName           = "${data.azurerm_resource_group.AKSRG.name}"
  AKSClusName         = "${var.AKSClus}"
  AKSprefix           = "${module.AKSClusterRandomPrefix.Result}"
  AKSLocation         = "${var.AzureRegion}"
  AKSSubnetId         = "${data.azurerm_subnet.AKSwithRBACSubnet.id}"
  K8SSPId             = "${data.azurerm_key_vault_secret.AKSSP_AppId.value}"
  K8SSPSecret         = "${data.azurerm_key_vault_secret.AKSSP_AppSecret.value}"
  AKSLAWId            = "${data.azurerm_log_analytics_workspace.AKSLabWS.id}"
  AADTenantId         = "${var.AzureTenantID}"
  AADServerAppSecret  = "${data.azurerm_key_vault_secret.AKS_AADServer_AppSecret.value}"
  AADServerAppId      = "${data.azurerm_key_vault_secret.AKS_AADServer_AppID.value}"
  AADCliAppId         = "${data.azurerm_key_vault_secret.AKS_AADClient_AppId.value}"
  PublicSSHKey        = "${data.azurerm_key_vault_secret.SSHPublicKey.value}"
  EnvironmentTag      = "${var.EnvironmentTag}"
  EnvironmentUsageTag = "${var.EnvironmentUsageTag}"
  OwnerTag            = "${var.OwnerTag}"
  ProvisioningDateTag = "${var.ProvisioningDateTag}"
  #the following parameters are optional because defined with default values
  AKSSVCCIDR          = "172.19.0.0/16"
  AKSDockerBridgeCIDR = "172.17.0.1/16"

}
In this module call, we can see that I also stored in the key vault the service principal attributed to the AKS cluster so that it can access to the subscription to perform actions such as provisioning public IP for externally exposed kubernetes services.
3.4 Testing AAD integration and RBAC
3.4.1 Getting the admin credentials and configure Roles and Binding the old way
With a not RBAC enabled AKS cluster, we can get the credentials for the aks cluster with the command az aks get-credentials:
az aks get-credentials --resource-group myResourceGroup --name myAKSCluster
On the condition that the kubectl cli is installed on the environment on which the command is run, the credentials prerequisites are made available in the ./kube/ folder, in the config file. Below how it looks like on my own laptop:
PS C:\Users\User1> ls .\.kube\


    Répertoire : C:\Users\User1\.kube


Mode                LastWriteTime         Length Name
----                -------------         ------ ----
d-----       29/04/2019     15:04                cache
d-----       29/04/2019     15:04                http-cache
-a----       14/05/2019     23:28           5546 config
With a RBAC enabled cluster, it is necessary to add the –admin to the az aks get-credentials command to gain access to the cluster. The next step is to configure access to Azure AD users, or group. For these we rely on kubernetes object and use a yaml file to bind a user to a role in kubernetes. The following code display how to bind a user to the cluster-admin role which, as the name imply, gives a lot of rights on the cluster:
apiVersion: rbac.authorization.k8s.io/v1
kind: ClusterRoleBinding
metadata:
 name: contoso-cluster-admins
roleRef:
 apiGroup: rbac.authorization.k8s.io
 kind: ClusterRole
 name: cluster-admin
subjects:
- apiGroup: rbac.authorization.k8s.io
  kind: User
  name: "User1@teknews.cloud"
For a user binding, we can use the user principal name, however, for a group, we need to use the object id of the Azure AD group as display below in the subjects section:
apiVersion: rbac.authorization.k8s.io/v1
kind: ClusterRoleBinding
metadata:
 name: contoso-cluster-admins
roleRef:
 apiGroup: rbac.authorization.k8s.io
 kind: ClusterRole
 name: cluster-admin
subjects:
- apiGroup: rbac.authorization.k8s.io
  kind: Group
  name: "xxxxxxxx-xxxx-xxxx-xxxx-xxxxxxxxxxx"
Now as the chapter title implies, it is a way to configure access but not my favorite one.
3.4.2 Getting the admin credentials and configure Roles and Binding the cool way
Since Terraform also comes with a kubernetes provider, we can leverage it to create the binding that we require. First to authenticate on the AKS cluster, we can make use of the AKS resource output, as follow:
provider "kubernetes" {
    host                        = "${module.AKSClus.KubeAdminCFG_HostName}"
    client_certificate          = "${base64decode(module.AKSClus.KubeAdminCFG_ClientCertificate)}"
    client_key                  = "${base64decode(module.AKSClus.KubeAdminCFG_ClientKey)}"
    cluster_ca_certificate      = "${base64decode(module.AKSClus.KubeAdminCFG_ClusCACert)}"
}
Then, we use the kubernetes_cluster_role_binding resource to bind the desired Azure AD identity to the role that we want, here, the cluster-admin role:
##################################################################
# associate user & groups to cluster admin role

resource "kubernetes_cluster_role_binding" "Terra_builtin_clubsteradmin_binding_user" {

    metadata {
        name        = "terracreated-clusteradminrole-binding-user"
    }

    role_ref {
        api_group   = "rbac.authorization.k8s.io"
        kind        = "ClusterRole"
        name        = "cluster-admin"
    }

    subject {
        api_group   = "rbac.authorization.k8s.io"
        kind        = "User"
        name        = "${var.AKSClusterAdminUSer}"

    }

}
Now, in this article we want to explore ways to operate a K8S cluster for more than one client. For this, we use the namespace to split virtually the cluster resource, and we provide access to users to the namespace. Users are thus able to interact with the cluster, but only in the namespace that they are bound to. So first we create a namespace:
##################################################################
# Create namespace test

resource "kubernetes_namespace" "terra_test_namespace" {
    metadata {
        annotations {
            name    = "terra_test_namespace"
            usage   = "for_test_namespace"
        }


        labels {
            namespacelabel = "testnamespace_label"
        }

        name        = "terra-test-namespace"
    }
}
Then we bind an Azure AD group to the cluster role admin, which is associated to a namespace:
##################################################################
# bind namespace full admin role to AAD Group

resource "kubernetes_role_binding" "terraadminnamspace" {
  metadata {
    name      = "terransadminrolebinding"
    namespace = "${kubernetes_namespace.terra_test_namespace.metadata.0.name}"

  }

  role_ref {
    api_group = "rbac.authorization.k8s.io"
    kind      = "ClusterRole"
    name      = "admin"
  }

  subject {
    kind      = "Group"
    name      = "${var.AKSClusterAdminGroup}"
    api_group = "rbac.authorization.k8s.io"
  }
}
With this, the group corresponding to the variable AKSClusterAdminGroup is given the admin role in the namespace terra-test-namespace, that we referred to with the value ${kubernetes_namespace.terra_test_namespace.metadata.0.name}. While this interpolation is longer than writing simply the name of the namespace, it allows us to reference the terraform namespace resource rather than a hard coded namespace name.
3.4.3 Testing Authentication
We are now ready to test the authentication on the cluster. The first step is to get the credentials. For this we use the az aks get-credentials command. That means we must have access to the subscription hosting the AKS cluster, because to run an az cli command, we do need to be authenticated on the Azure AD Tenant with which the subscription is associated, and we need to have set the subscription in the az cli to this said subscription. On the other hand, it is not necessary to give access to the subscription to all the users, or groups, for which we want to use RBAC on the AKS cluster. And that is pretty cool. So in my case, I ran the az aks get-credentials and then ran the kubectl command to get nodes with my account which is bound to the cluster-admin role:
PS C:\Users\User1> az aks get-credentials -n AKSLabClusterwithRBAC -g RG_AKSManagedCluster --overwrite
Merged "AKSLabClusterwithRBAC" as current context in C:\Users\User1\.kube\config
PS C:\Users\User1> kubectl get nodes
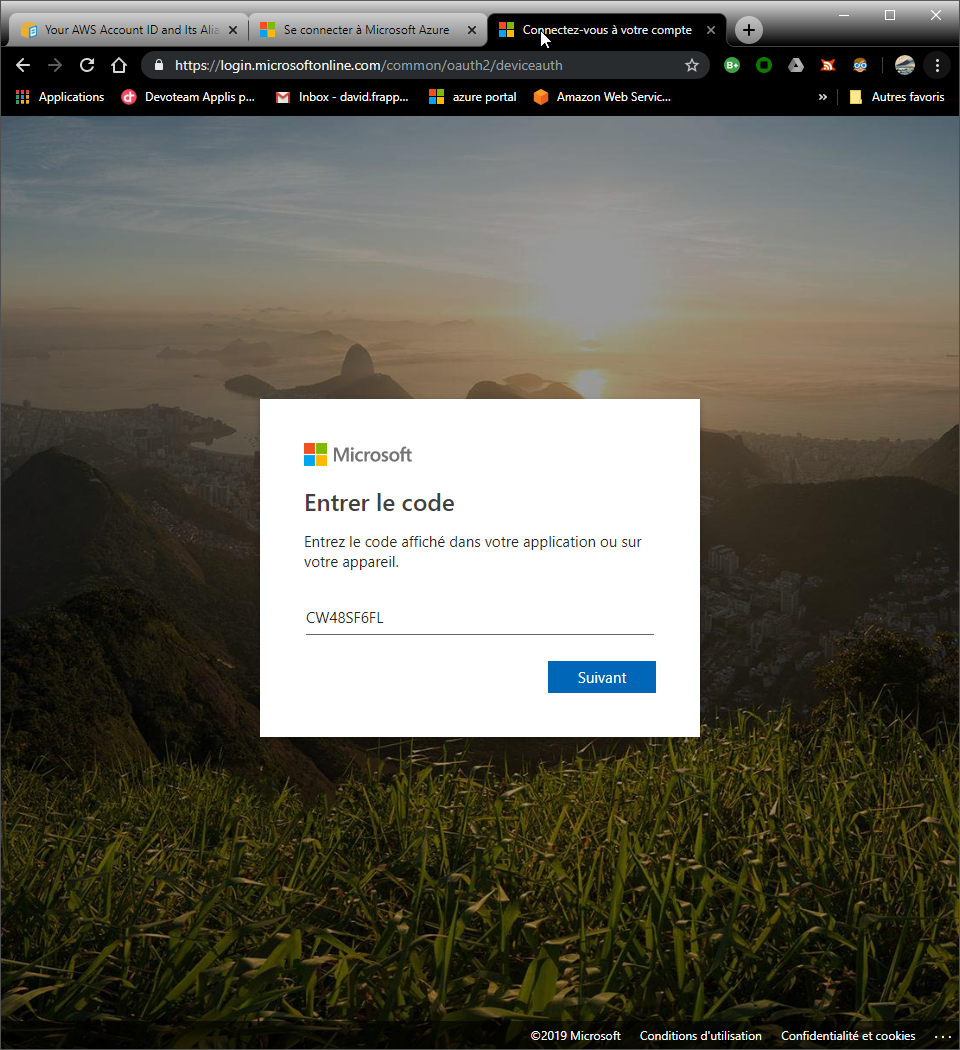
To sign in, use a web browser to open the page https://microsoft.com/devicelogin and enter the code CW48SF6FL to authenticate.
NAME                        STATUS     ROLES   AGE   VERSION
aks-terraaksap-18551064-0   NotReady   agent   10d   v1.12.7
aks-terraaksap-18551064-1   NotReady   agent   10d   v1.12.7
aks-terraaksap-18551064-2   NotReady   agent   10d   v1.12.7
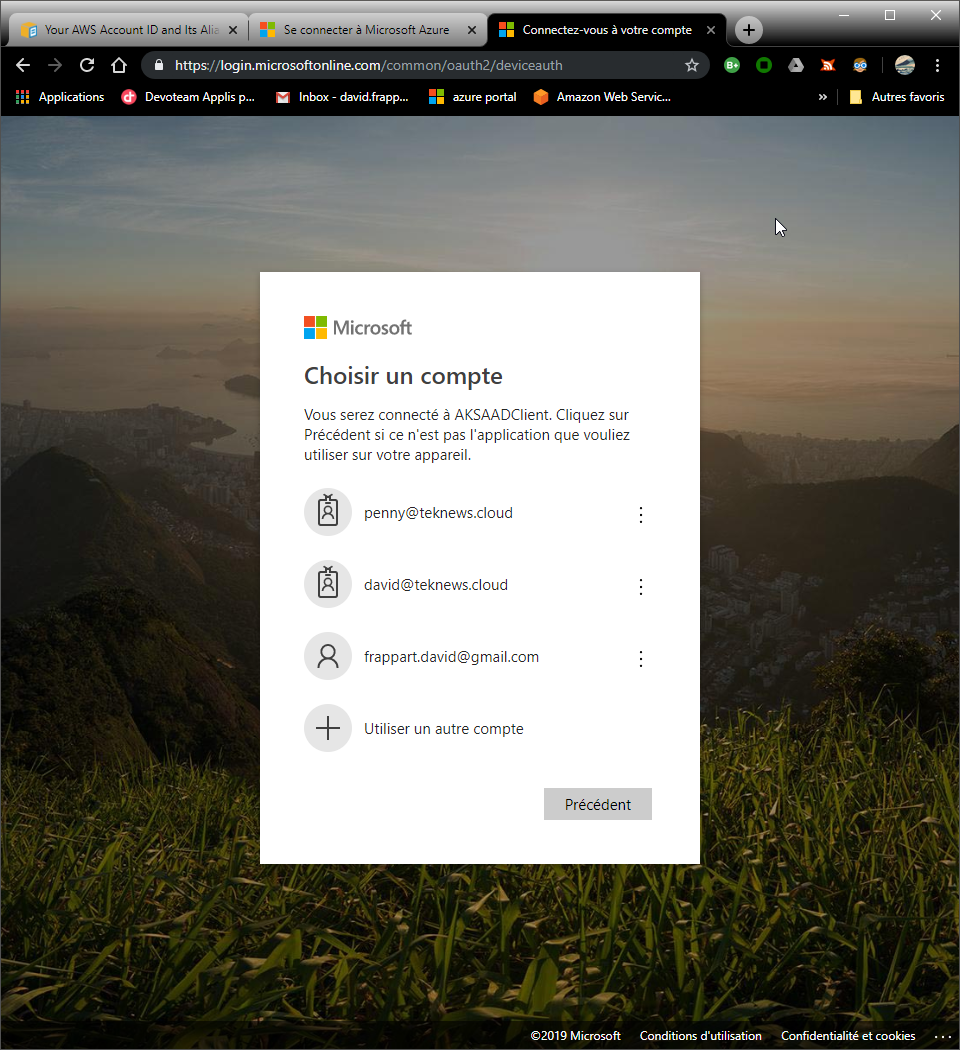
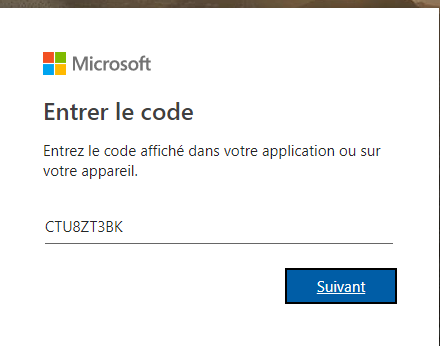
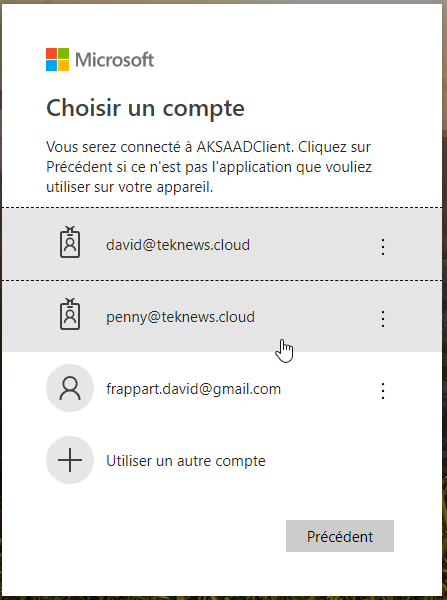
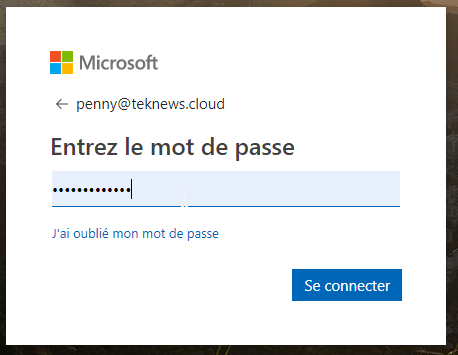
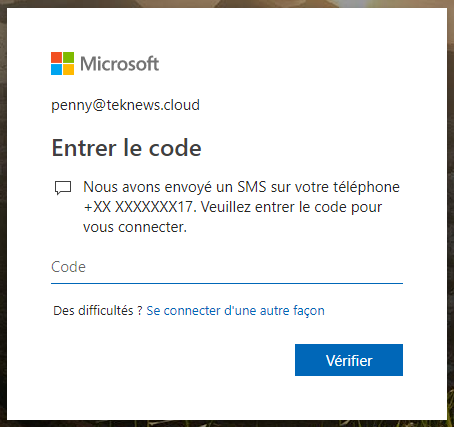
Now let’s connect with another user. This time we connect with Penny’s account who is member of the group which is bound to the cluster role admin, attached to the namespace terra-test-namespace. Note that Penny’s account has MFA enabled:
PS C:\Users\User1> kubectl get pods --namespace terra-test-namespace
To sign in, use a web browser to open the page https://microsoft.com/devicelogin and enter the code CTU8ZT3BK to authenticate.

NAME READY STATUS RESTARTS AGE
testnginxdeployment-6975459585-4stpg 1/1 Running 0 4h48m
testnginxdeployment-6975459585-794gb 1/1 Running 0 4h48m
testnginxdeployment-6975459585-n6h6r 1/1 Running 0 4h48m
testnginxpod 1/1 Running 0 4h48m
PS C:\Users\User1> kubectl get nodes
Error from server (Forbidden): nodes is forbidden: User "penny@teknews.cloud" cannot list resource "nodes" in API group "" at the cluster scope
PS C:\Users\User1> kubectl get services --namespace terra-test-namespace
NAME TYPE CLUSTER-IP EXTERNAL-IP PORT(S) AGE
testnginxsvc LoadBalancer 172.19.83.79 13.80.159.235 8080:32434/TCP 4h48m
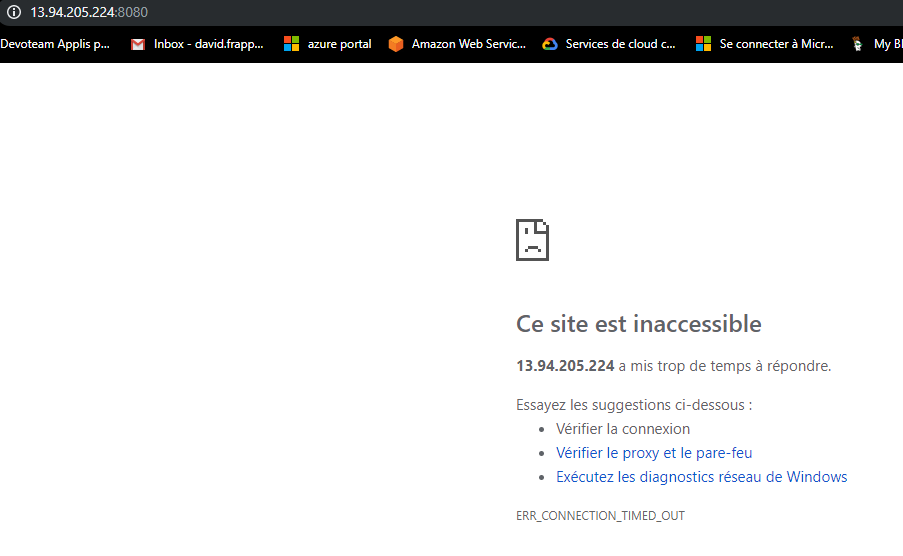
testnginxsvc2 LoadBalancer 172.19.137.138 13.94.205.224 8080:32601/TCP 4h49m
PS C:\Users\User1> kubectl get services
Error from server (Forbidden): services is forbidden: User "penny@teknews.cloud" cannot list resource "services" in API group "" in the namespace "default"
PS C:\Users\User1>
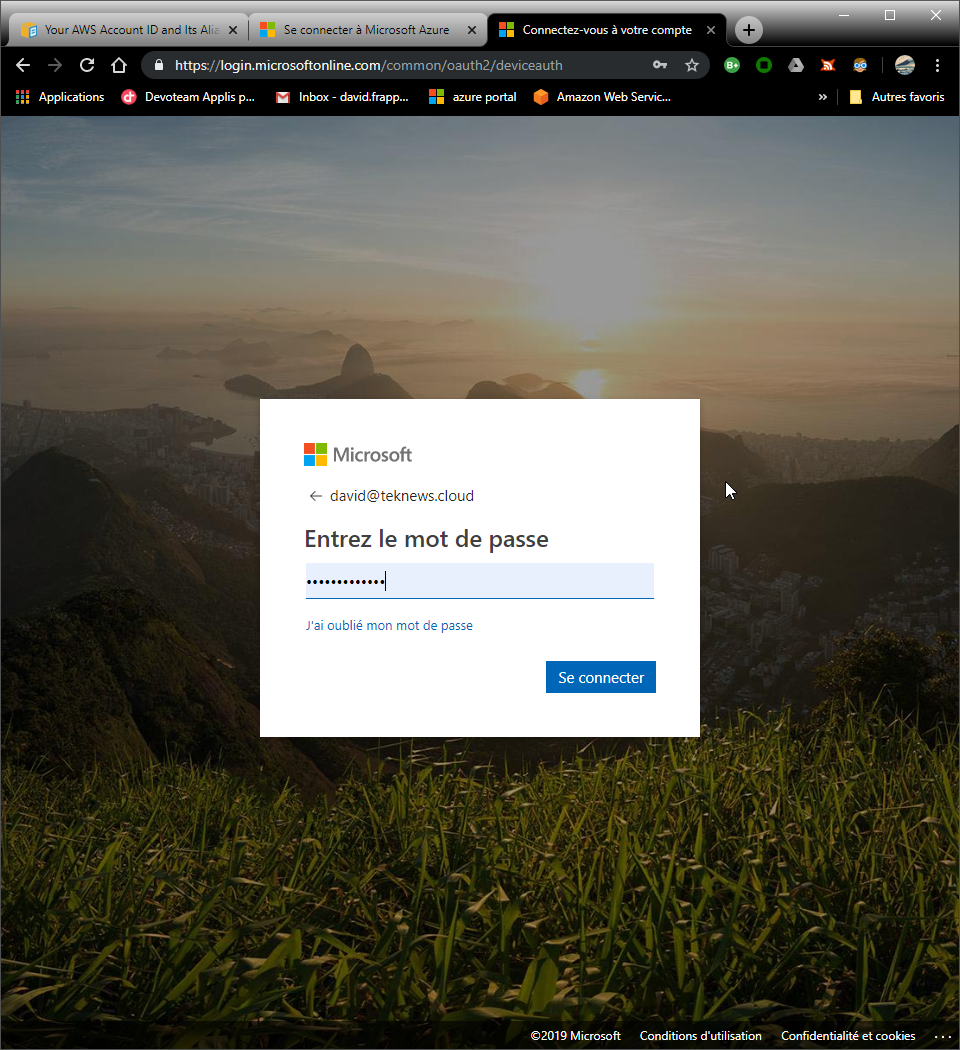
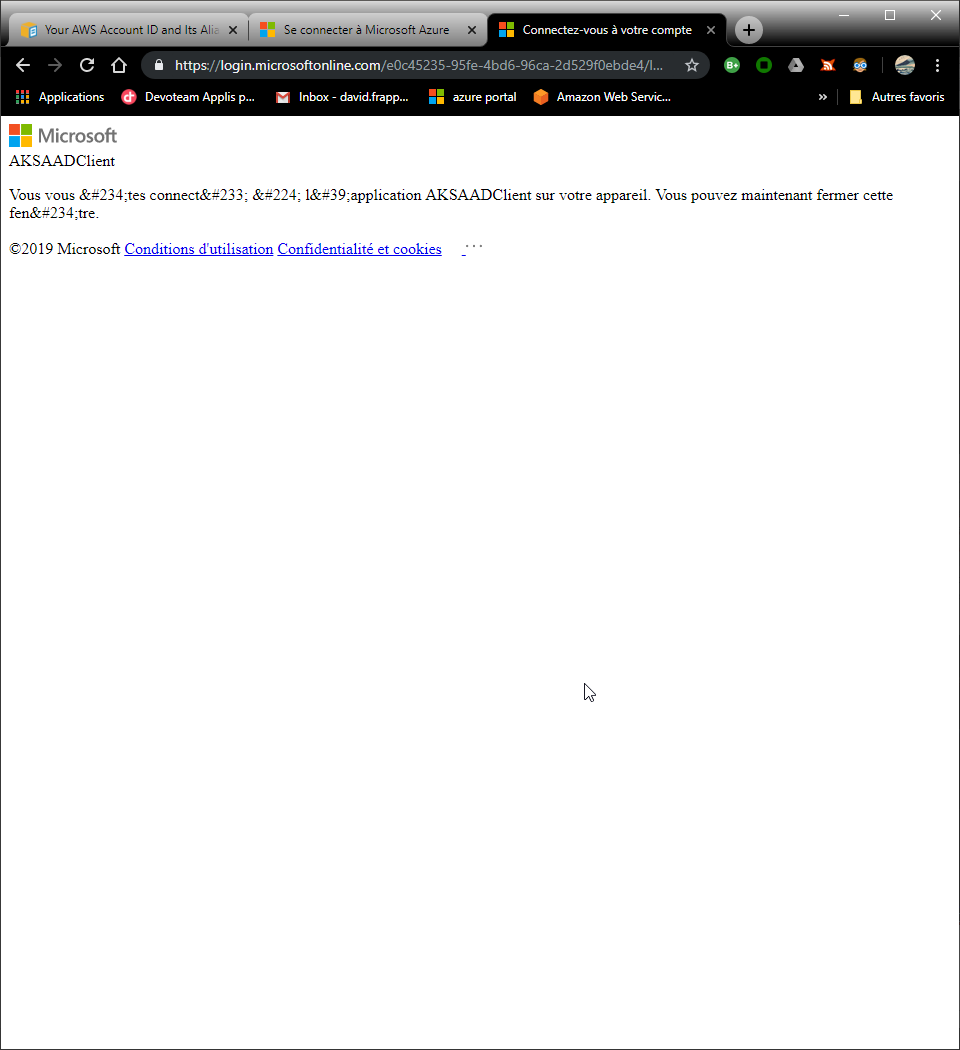
We can see that the authentication is working, with MFA enabled in option in Azure AD. Also, the scope of Penny’s account is scoped to the terra-test-namespace as expected
4. Kubernetes Network policy in Azure Kubernetes service
Network policies allow to filter traffic between the pods in a Kubernetes Cluster. To secure the deployment of AKS, the proposition here is to add to the deployment of the cluster a set of Network Policy by default, applied to namespace.
4.1. Proposed Network policies
By default, AKS cluster managed on its own the access for exposed apps through the service principal associated with it and with a Network Security Group associated with the Nodes. Each time a ap is exposed to the outside, a public IP is deployed and an additional rule is added on the NSG, with the corresponding load balancing rule for allowing traffic. This is fully Azure filtering and all the pods can communicate together if nothing is added in Kubernetes. To give more security, it is possible to use Kubernetes network policies, which gives IP Tables filtering capabilities between the pods. As a measure of basic security, we can add default network policies deployed at the same time as the namespaces creation. The examples of netpol presented here come from the githyb repo kubernetes-network-policy-recipes. To block all ingress traffic in the namespace terra-test-namespace. We can use the following policy described in yaml:
kind: NetworkPolicy
apiVersion: networking.k8s.io/v1
metadata:
  name: default-deny-all
  namespace: terra-test-namespace
spec:
  podSelector: {}
  ingress: []
The parameter metadata.namespace allows us to associate the network policy to the namespace terra-test-namespace and the spec.pod_selector allows us to to filter on which pods we want to apply the rule. If, as in the example, we have pod_selector = {}, it means that we select all pods (nothing meaning everything in this case), so the policy is enforced on all pods inside the namespace. By writing an empty spec.ingress, it means we don’t select any rules for ingress so everything is dropped.
Since we want to add the policy at the deployment time, we make use of the Kubernetes Terraform provider, which can deploy object such as namespaces and network policies. In Hashicorp Configuration language, it looks like this:
##################################################################
# Create namespace test

resource "kubernetes_namespace" "terra_test_namespace" {
    metadata {
        annotations {
            name    = "terra_test_namespace"
            usage   = "for_test_namespace"
        }


        labels {
            namespacelabel = "testnamespace_label"
        }

        name        = "terra-test-namespace"
    }
}
##################################################################
# Network policy

#Default network policy deny all in namespace terra-test-namespace ingress

resource "kubernetes_network_policy" "terra_defaultnp_denyallin_ns_terra-test-namespace" {
  metadata {
    name        = "defaultnp-denyall-in"
    namespace   = "${kubernetes_namespace.terra_test_namespace.metadata.0.name}"
  }

  spec {
    pod_selector {}
    ingress = []
    policy_types = ["Ingress"]

  }


}
Another possible network policy would be to block everything except the traffic between pods. In this case we would take the following policy:
kind: NetworkPolicy
apiVersion: networking.k8s.io/v1
metadata:
  namespace: terra-test-namespace
  name: deny-from-other-namespaces
spec:
  podSelector:
    matchLabels:
  ingress:
  - from:
    - podSelector: {}
This time the spec.podSelector.matchLabels being empty select all pods inside the namespace terra-test-namespace. The spec.ingress.from.podSelector being empty select all pods inside the namespace to allow the ingress traffic between the pods inside the namespace. In HCL it will look like this:
#Default network policy deny all ingress traffic from other namespace tp pods in  terra-test-namespace

resource "kubernetes_network_policy" "terra_defaultnp_denyallin_fromotherns" {
  metadata {
    name        = "defaultnp_denyallin_fromotherns"
    namespace   = "${kubernetes_namespace.terra_test_namespace.metadata.0.name}"
  }

  spec {
    pod_selector {
      match_labels {}

    }
    ingress = [
      {
        from = [
          {
            pod_selector {}
          }

        ]
      }
    ]
    policy_types = ["Ingress"]
  }
}
4.2. Testing Netpol
Now that we have some basic concepts of Netpol, let’s try it out. We deploy an nginx pod standalone, and another one in a deployment, and we expose both with service. As said earlier, AKS will associate the public IP and manage the NSG rules to allow traffic. The deployment in Terraform looks like this:
#Create test pod nginx

resource "kubernetes_pod" "testnginx" {
  metadata {
    name = "testnginxpod"
    labels {
      app = "testnginxpod"
    }
    namespace = "${kubernetes_namespace.terra_test_namespace.metadata.0.name}"
  }

  spec {
    container {
      image = "nginx:1.7.9"
      name  = "testnginxpod"
    }
  }
}

#Create Service exposing test pod nginx

resource "kubernetes_service" "testnginxsvc" {
  metadata {
    name = "testnginxsvc"
    namespace = "${kubernetes_namespace.terra_test_namespace.metadata.0.name}"
  }
  spec {
    selector {
      app = "${kubernetes_pod.testnginx.metadata.0.labels.app}"
    }
    session_affinity = "ClientIP"
    port {
      port = 8080
      target_port = 80
    }

    type = "LoadBalancer"
  }
}


#Create test deployment

resource "kubernetes_deployment" "testnginxdeployment" {
  metadata {
    name = "testnginxdeployment"
    labels {
      app = "testnginxdeployment"
    }
    namespace = "${kubernetes_namespace.terra_test_namespace.metadata.0.name}"
  }

  spec {
    replicas = 3

    selector {
      match_labels {
        app = "testnginxdeployment"
      }
    }

    template {
      metadata {
        labels {
          app = "testnginxdeployment"
        }
      }

      spec {
        container {
          image = "nginx:1.7.8"
          name  = "testnginxpoddeployment"

          resources{
            limits{
              cpu    = "0.5"
              memory = "512Mi"
            }
            requests{
              cpu    = "250m"
              memory = "50Mi"
            }
          }
        }
      }
    }
  }
}

#Create Service exposing test deployment nginx

resource "kubernetes_service" "testnginxsvc2" {
  metadata {
    name = "testnginxsvc2"
    namespace = "${kubernetes_namespace.terra_test_namespace.metadata.0.name}"
  }
  spec {
    selector {
      app = "${kubernetes_deployment.testnginxdeployment.metadata.0.labels.app}"
    }
    session_affinity = "ClientIP"
    port {
      port = 8080
      target_port = 80
    }

    type = "LoadBalancer"
  }
}
We have two services and if we use kubectl command, we can get the public ip associated with both:
PS C:\Users\User1> kubectl get services --namespace terra-test-namespace
NAME            TYPE           CLUSTER-IP       EXTERNAL-IP     PORT(S)          AGE
testnginxsvc    LoadBalancer   172.19.83.79     13.80.159.235   8080:32434/TCP   2d23h
testnginxsvc2   LoadBalancer   172.19.137.138   13.94.205.224   8080:32601/TCP   2d23h
Now, once we apply the default deny all policy, it won’t work anymore, and we need to specify another rule to allow traffic to reach the pods. With the following policy, we allow traffic to the service testnginxsvc, which expose the standalone pod:
#Network policy allowing external traffic on testnginxpod

resource "kubernetes_network_policy" "Allow-External" {
  metadata {
    name = "allow-external"
    namespace = "terra-test-namespace"

  }

  spec {
    pod_selector {
      match_labels {
        app = "testnginxpod"
      }
    }
    ingress = [
      {
        from = []
      }
    ]
    policy_types = ["Ingress"]

  }
}
This time, with the spec.pod_selector.match_labels.app parameter, we select the pod with the value testnginxpod only. Now, the traffic is allowed on this pod, on any port. It is possible to specify more granular traffic with port option but for now it is sufficient.
The service testnginxsvc is accessible:
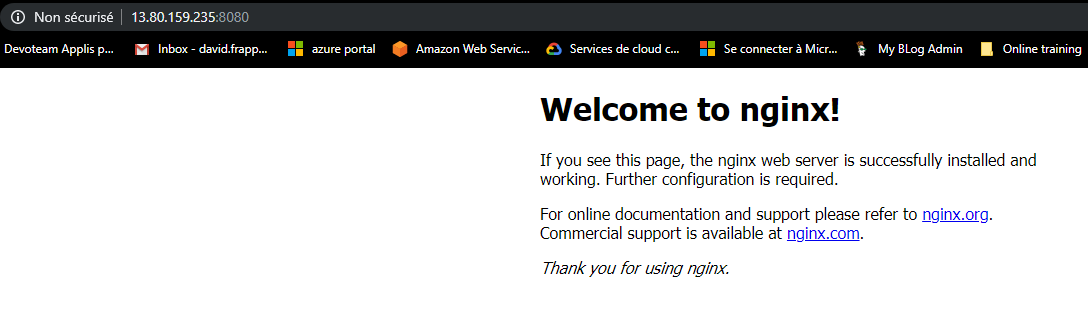
While the service testnginxsvc2 is not:
In the previous code, the netpol is described in HCL, but logically, we could let the team managing the application manage this kind of policy and thus, there is now reason that they would use terraform instead of yaml with kubectl. On the other hand, since we want to secure the AKS cluster at the deployment, having the capability to describe basic netpol in HCL gives us a way to simplify the hardening of the K8S cluster.
5. Conclusion
In this article, we described the deployment of an AKS cluster with terraform and how to secure it with AAD integration for authentication and network filtering with the Network Policy object in Kubernetes. This is only a first layer of security. AKS should be available in private deployment soon, and it is already possible to add allowed range of IP on the API endpoint, through either az cli or an ARM template. Also, the pod policy are already available. An interesting feature for securing the whole environment will be the pod identity which should allow us to leverage managed identities at the pod level and thus have a granular access from pods to other azure service without relying on hard coded secrets.